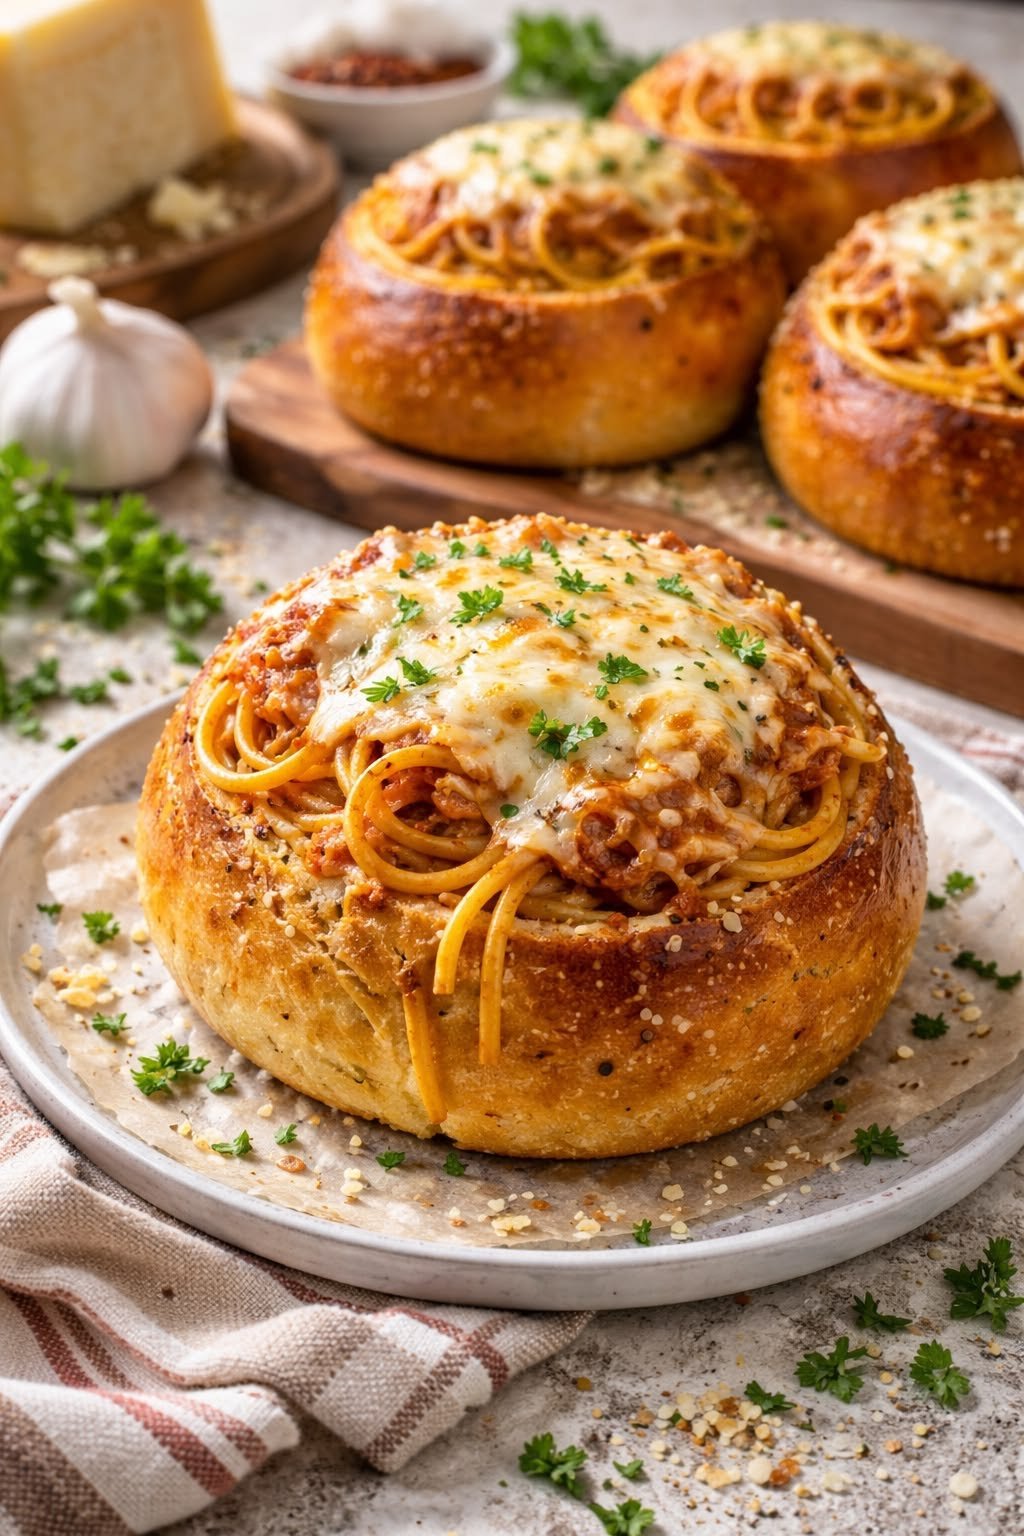
Crispy garlic bread filled with rich, cheesy spaghetti—this is the kind of dinner that feels fun, cozy, and a little indulgent without being complicated.
Creamy Lemon Dill Pasta Salad: The Ultimate Summer Side!
Easy Recipe
May 26, 2026
WW Baked Blueberry Cottage Cheese Breakfast Bowls — Full Recipe
Easy Recipe
May 26, 2026
Ingredients (serves 4)
Garlic bread bowls
- 4 small round bread loaves (sourdough rolls or Italian bread bowls work best)
- 4 tbsp butter, softened
- 2–3 cloves garlic, minced (or 1 tsp garlic powder)
- 1 tbsp parsley, chopped
- ¼ tsp salt
- ¼ cup grated parmesan (optional but recommended)
Cheesy spaghetti filling
- 8 oz spaghetti (about 225 g)
- 2 cups marinara sauce (store-bought or homemade)
- 1 cup shredded mozzarella cheese
- ¼ cup grated parmesan cheese
- ½ cup heavy cream (or milk for lighter version)
- 1 tbsp olive oil
- 2 cloves garlic, minced
- 1 tsp Italian seasoning
- Salt & black pepper to taste
Step-by-step instructions
1. Prep the bread bowls (10 min)
- Cut the tops off each bread roll and hollow out the inside, leaving a thick shell.
- Mix butter, garlic, parsley, and salt.
- Brush inside and outside of bread bowls generously.
- Optional: sprinkle parmesan inside for extra flavor.
Bake at 375°F (190°C) for 8–10 minutes until lightly crispy.
2. Cook the spaghetti (10–12 min)
- Boil pasta in salted water until al dente.
- Drain and set aside.
3. Make cheesy sauce (5–7 min)
- Heat olive oil in a pan. Add garlic and sauté 30 seconds.
- Add marinara sauce + Italian seasoning.
- Stir in cream, then mozzarella and parmesan.
- Mix until creamy and melted.
4. Combine pasta + sauce (2 min)
- Toss cooked spaghetti into the cheesy sauce.
- Stir until fully coated and thick.
5. Assemble bread bowls (2–3 min)
- Spoon cheesy spaghetti into each garlic bread bowl.
- Top with extra mozzarella if desired.
6. Bake again (optional but amazing)
- Bake at 375°F for 5–7 minutes until cheese is bubbly.
- Or broil 1–2 minutes for golden top.
Pro tips (important)
- Use sturdy bread so it doesn’t leak sauce
- Don’t overfill or bowls may soften too fast
- Toasting bread first = better crunch
- Let kids “pull apart” the bread while eating—it’s part of the fun
Nut information (important Q&A style)
Q: Does this recipe contain nuts?
No. This recipe is naturally nut-free.
Q: Is it safe for nut allergies?
Yes, but only if:
- Your bread is certified nut-free (some bakeries use cross-contaminated facilities)
- Your store-bought marinara and cheese are checked for “may contain nuts” warnings
Q: Can I add nuts?
You can, but it’s optional:
Whole Roasted Cauliflower with Spicy Sriracha Honey Glaze
Easy Recipe
May 25, 2026
Bang Bang Salmon Recipe
Easy Recipe
May 24, 2026
- Toasted pine nuts → Italian-style crunch
- Crushed walnuts → earthy texture
- Almond slivers → mild crunch
Add only if no allergy concerns exist.
Q: Nut-free crunchy alternatives?
- Toasted breadcrumbs
- Crispy fried onions
- Extra parmesan crisping in oven
Q&A
Q: Can I make this ahead?
Yes:
- Sauce + pasta can be made 1–2 days ahead
- Assemble and bake just before serving for best texture
Q: Can I use other pasta?
Yes:
- Penne, rigatoni, or fusilli all work well
- Short pasta is easier for kids
Q: How do I keep bread from getting soggy?
- Toast it first
- Don’t let filling sit inside too long before serving
- Use thicker bread walls
Q: Can I make it lighter?
Yes:
- Use milk instead of cream
- Reduce cheese slightly
- Add veggies like spinach or mushrooms
Q: Storage & reheating?
- Store filling separately (best)
- Reheat pasta, then refill bread bowls
- Bread bowls are best fresh
Sara Mitchell is an expert restaurant content creator who writes easy-to-read guides about CAVA and other Mediterranean fast-casual chains in the United States. She covers locations, menus, prices, and hours, making it simple for visitors to find nearby restaurants and what to order quickly.
With years of experience in restaurant research and local SEO, Sara creates accurate, user-friendly guides that work for both people and search engines. Her goal is to help users go from search results to their nearest restaurant or menu choice with as few clicks as possible.
With years of experience in restaurant research and local SEO, Sara creates accurate, user-friendly guides that work for both people and search engines. Her goal is to help users go from search results to their nearest restaurant or menu choice with as few clicks as possible.
Latest posts by Sara Mitchell (see all)
- Creamy Lemon Dill Pasta Salad: The Ultimate Summer Side! - May 26, 2026
- WW Baked Blueberry Cottage Cheese Breakfast Bowls — Full Recipe - May 26, 2026
- Whole Roasted Cauliflower with Spicy Sriracha Honey Glaze - May 25, 2026
Sweet & Spicy Chicken Pineapple Stir-Fry
Easy Recipe
May 24, 2026
Creamy Chicken & Turkey Bacon Stroganoff
Easy Recipe
May 24, 2026